


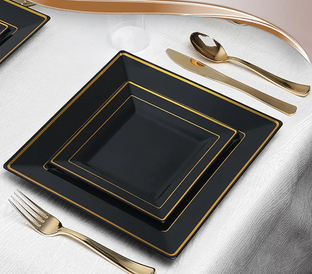
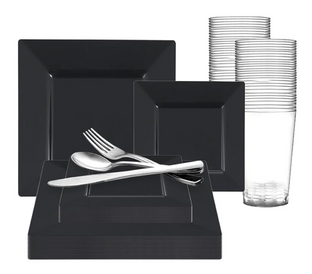

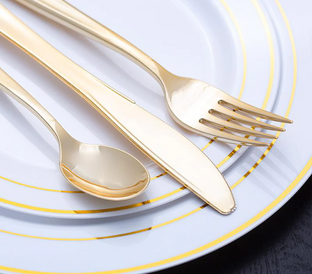
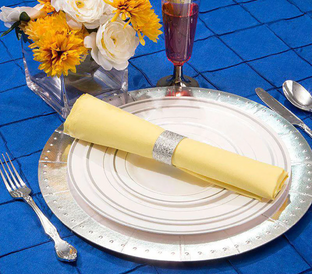
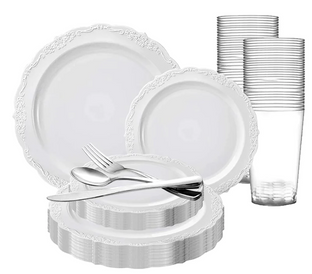


Elegant Party Supplies & Dinnerware
Great Deals On Popular Items
-
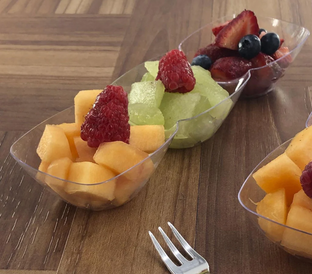
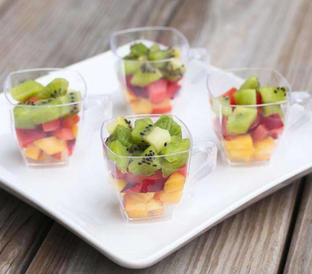
5.5 oz. Clear Octagon Disposable Plastic Dessert Cups
![]() 5.5 oz. Clear Octagon Disposable Plastic Dessert CupsPrice: From $4.49Price: From $4.49
5.5 oz. Clear Octagon Disposable Plastic Dessert CupsPrice: From $4.49Price: From $4.49 -
Clear Disposable Plastic Serving Forks
![]() Clear Disposable Plastic Serving ForksPrice: From $1.99Price: From $1.99
Clear Disposable Plastic Serving ForksPrice: From $1.99Price: From $1.99 -
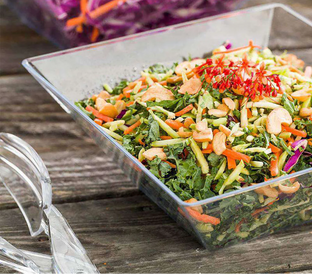
Clear Rectangular 3-Hole Mini Plastic Bowls
![]() Clear Rectangular 3-Hole Mini Plastic BowlsPrice: From $4.49Price: From $4.49
Clear Rectangular 3-Hole Mini Plastic BowlsPrice: From $4.49Price: From $4.49


Featured Collections
- Your collection's name
![]()
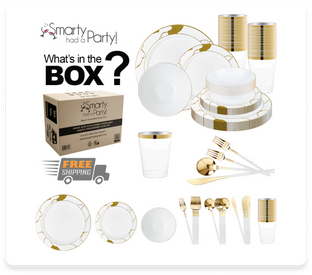
Smartyware
- Your collection's name
![]()
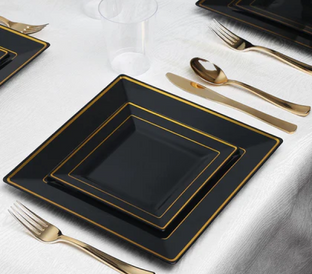
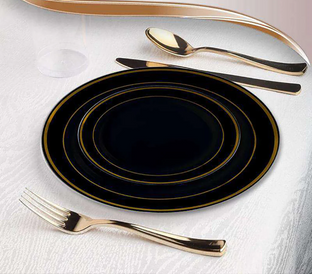
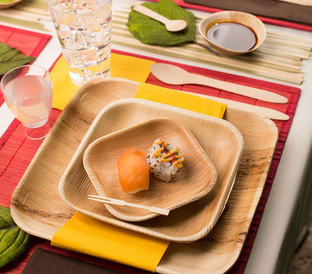
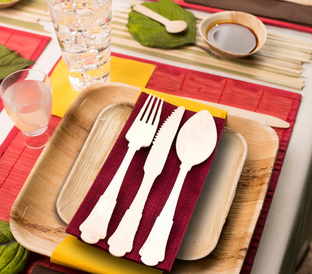
Disposable Dinner Party Plates
- Your collection's name
![]()
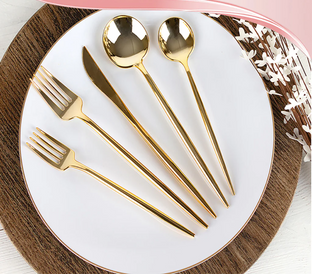
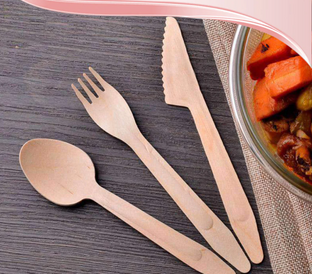
Flatware
- Your collection's name
![]()
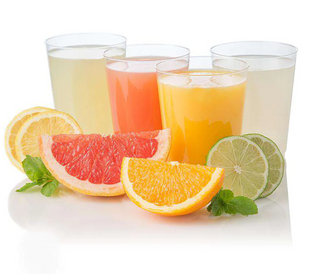
Disposable Plastic Drinkware
- Your collection's name
![]()
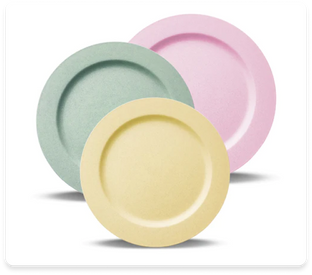
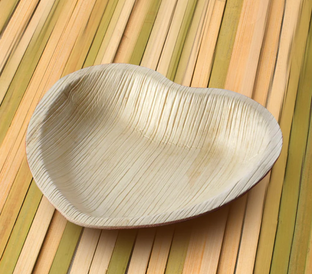
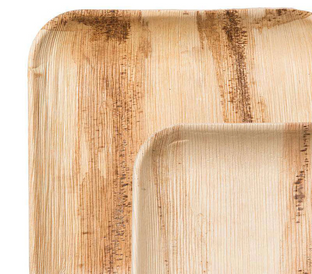
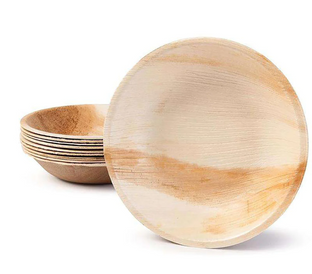
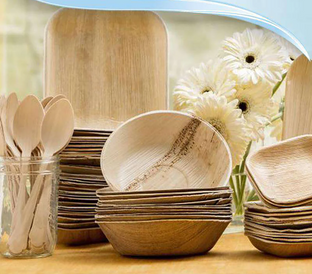
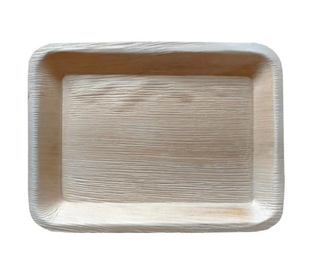
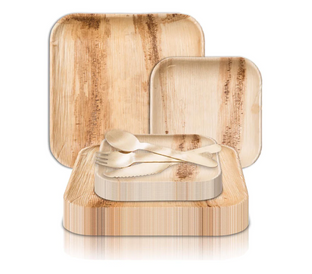
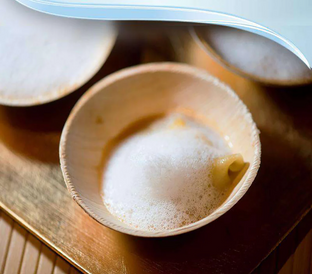
Eco Friendly
- Your collection's name
![]()
Napkins
- Your collection's name
![]()
Mini Partyware
- Your collection's name
![]()
Servingware
- Your collection's name
![]()
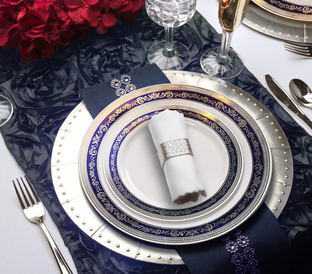
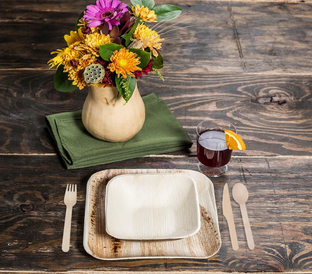
Fancy Disposable Dinnerware Sets
- Your collection's name
![]()
Plastic Tumblers
- Your collection's name
![]()
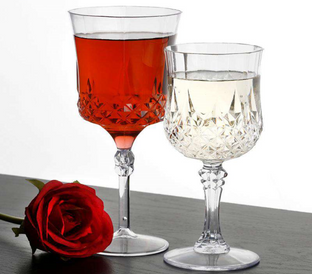
Elegant Plastic Wine Glasses
- Your collection's name
![]()
Charger Plates
- Your collection's name
![]()
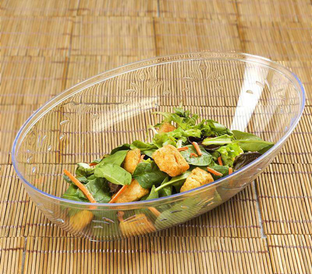
Plastic Bowls


Best Sellers
-
White Linen-Like Premium Paper Buffet Napkins
![]() White Linen-Like Premium Paper Buffet NapkinsPrice: From $6.49Price: From $6.49
White Linen-Like Premium Paper Buffet NapkinsPrice: From $6.49Price: From $6.49 -
12 oz. Clear with Metallic Gold Rim Round Tumblers
![]() 12 oz. Clear with Metallic Gold Rim Round TumblersPrice: From $8.99Price: From $8.99
12 oz. Clear with Metallic Gold Rim Round TumblersPrice: From $8.99Price: From $8.99 -
White with Blue and Gold Chord Rim Plastic Dinnerware Value Set
![]()
![]() White with Blue and Gold Chord Rim Plastic Dinnerware Value SetPrice: From $26.99Price: From $26.99
White with Blue and Gold Chord Rim Plastic Dinnerware Value SetPrice: From $26.99Price: From $26.99 -
10 oz. Clear with Metallic Gold Rim Round Tumblers
![]() 10 oz. Clear with Metallic Gold Rim Round TumblersPrice: From $3.99Price: From $3.99
10 oz. Clear with Metallic Gold Rim Round TumblersPrice: From $3.99Price: From $3.99


What’s New & Fresh


Smarty Blog
-
![]() Read more
Read moreStep into a world of timeless elegance and breathtaking beauty with our latest blog post on opulent dining. As the allure of outdoor gatherings continues to captivate us, there's no better time to elevate your dining experience with an exquisite...
-
![]() Read more
Read moreWelcome to the vibrant world of spring gatherings, where the air is filled with the scent of blooming flowers, and every moment beckons us to embrace the beauty of the season. As we bid farewell to winter's chill and welcome...


You Never Even Thought That Disposable Dinnerware Could Be So Fancy
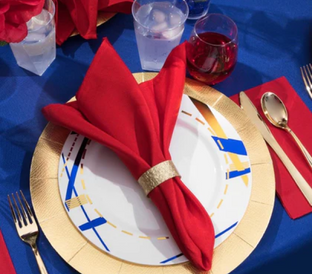
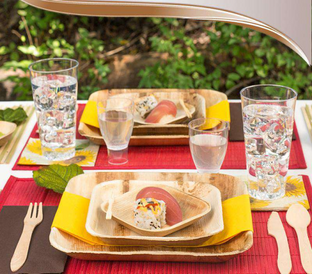
It’s time to set up for your party, and you want to be sure that every detail is perfect. And so do we. After all, your table settings are one of the factors involved in your guests enjoying their party! You want your plates to be nice with firm support for your meal, yet you don’t want generic plastic dinnerware that looks just like what was used at everyone else’s party. Fortunately, you’ve come to the right place to set up the party of your dreams Smarty style.
Planning your wedding? Setting up for a wedding implies the magic of making a lot of beautiful decisions. This is a day you want to remember for the rest of your life, and the album of Smarty’s weddings already has quite a number of amazing memories and plenty of room for more. Browse through our collection of elegant party supplies, fancy wedding plates, and wholesale disposable wedding dinnerware to choose the perfect combination for your big day. Wedding tablecloths in a wide range of colors and textures will allow you to create the perfect atmosphere to show off your happily ever after. Table runners and chair sashes will additionally help add that extra elegant touch.
Setting up for a party? Smarty is a party! Our plastic dinnerware is the perfect solution for making cleanup a snap at the end of your event. Disposable cups and disposable plates can easily be thrown away at the end of the night, allowing you to spend more time enjoying talking, laughing and having fun with your guests and no time worrying about cleanup. Meanwhile, disposable plastic cutlery makes it easier to ensure that everyone has the right combination of forks, knives, and spoons, all without forcing you to spend hours washing up when the party is over. Our elegant disposable party supplies will allow you to embrace these precious moments with your friends without detracting from the fun of your event.
Preparing for a shower? When you’re planning a shower for a loved one, you want everything to be perfect. From party tablecloths in styles and colors that will be sure to set the tone for your shower to gorgeous plastic plates and other dishes that will perfectly set off the treats you’ve chosen for your guests, Smarty has everything you need to create a stunning shower that the guest of honor will be sure to look back on with a smile. No matter what your color scheme or theme, we have the right décor to help your space look its best. When opening up Smarty’s party suitcase, you will find everything from elegant wedding plates to disposable barware. Setting up for your next event is nothing but fun when you browse through our wide range of party products. It doesn’t matter if you’re preparing a large hall for a big event or setting up a small party in your home. With our wide range of products, from elegant partyware that can be reused for many events in the future to sturdy disposable options you can count on to be the chosen one to meet the needs of any guest. Our products are designed to help you create the atmosphere you’re envisioning. Turn your perfect party vision into reality with Smarty. Smarty Had a Party, and our most important party is yours! Cheers!